Need help with your order? Call +44 0117 233 8966 or email office@hunteroperations.co.uk
- Shop All Shop All
- Name Badges Name Badges
- Lanyards
- Wristbands
- Seed Products
- Eco-Friendly
- News
- About Us
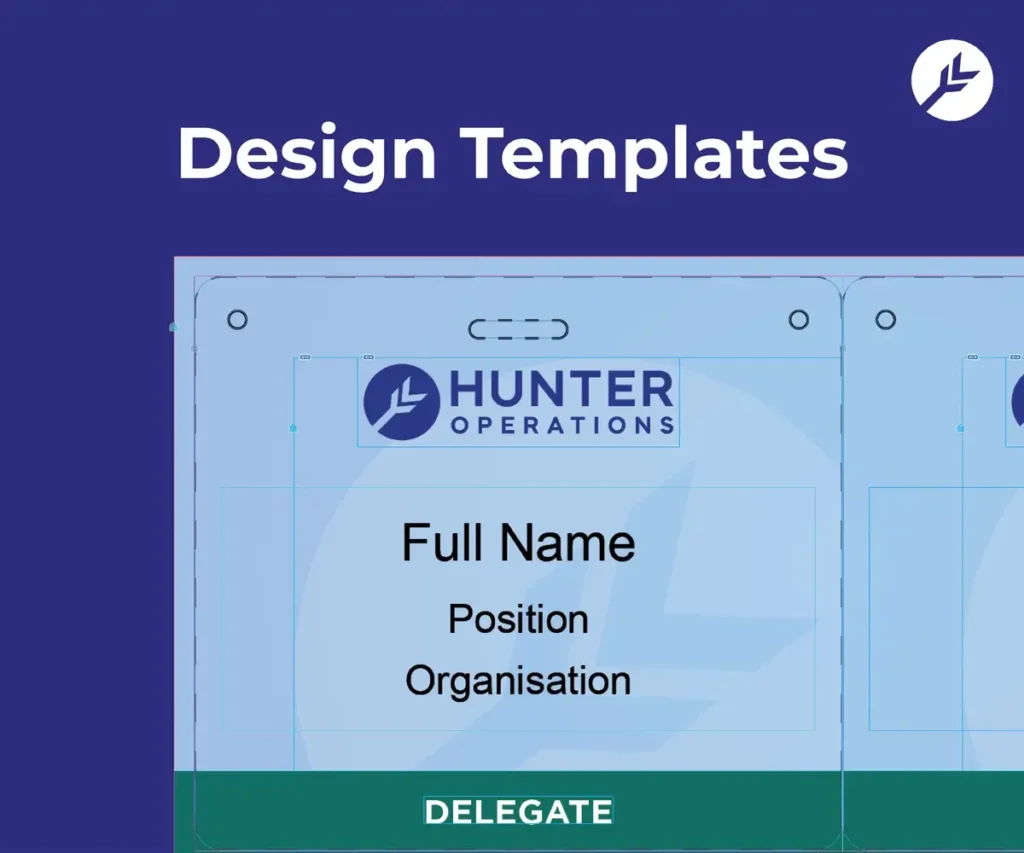
Take a look at our handy print and design templates! If you’d like to use them, we’ve got some easy-to-follow guides to help you along the way.
Hunter Operations, 1 Queen Victoria St, Bristol, BS2 0QR
We can send samples of any non bulky items including our name badges, lanyards, printed badges, badge card inserts, conference badges, and more!
We have a selection of print and design templates to help you setup your artwork, whether you are printing yourself at home or asking us to do it for you.
Prefer to speak to someone? We aim to make sure our website is as helpful and informative as possible, but just incase our team is always here to help.
Call us on 0117 233 8966 or message us.
We use cookies to improve your experience on our site. By using our site, you consent to cookies.
Websites store cookies to enhance functionality and personalise your experience. You can manage your preferences, but blocking some cookies may impact site performance and services.
Essential cookies enable basic functions and are necessary for the proper function of the website.
CloudFlare provides web performance and security solutions, enhancing site speed and protecting against threats.
Service URL: developers.cloudflare.com (opens in a new window)
Google Tag Manager simplifies the management of marketing tags on your website without code changes.
WooCommerce is a customizable eCommerce platform for building online stores using WordPress.
Statistics cookies collect information anonymously. This information helps us understand how visitors use our website.
Google Analytics is a powerful tool that tracks and analyzes website traffic for informed marketing decisions.
Service URL: policies.google.com (opens in a new window)
SourceBuster is used by WooCommerce for order attribution based on user source.
Marketing cookies are used to follow visitors to websites. The intention is to show ads that are relevant and engaging to the individual user.
Google Ads is an online advertising platform that enables businesses to create targeted ads displayed on Google search results and partner sites.
Service URL: policies.google.com (opens in a new window)
You can find more information in our Cookie Policy and Privacy Policy.